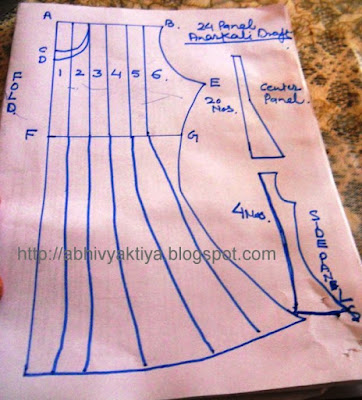
Today I am showing you 24 panels anarkali tutorial. This is different from my earlier tutorial, which was made with less cloth. In this anarkali total 24 panels are used 12 for front side and 12 for back side. Cutting of 20 panels is same and 4 side panels is different. Draft of this is as shown below.
you have to add 1/4 " on both side of each panel, hence 1/2'' extra cloth is required for every single panel.
A-B is a shoulder width, if it is 14" you have to take 20" for front as well as back side.
F-G is a waist measurement, same method will apply on.
Bottom width of each panel is upto you it can be from 5-8".
For cutting panels or kalis you have to take 2 sheets of newspaper attach them
and take whole length of your anarkali. With the help of image make a draft according to your measurements. cut only one single center panel and one side panel , place these panels on cloth and
cut 20 panels of center panel and 4 side panels.
Sewing Instructions:
First join 10 center panels by taking one straight and one slanting panel part
and then join 2 side panels on both side.
Prepare the back side in the same way.
Place them on each other fold them, make draft of shoulders, neck andarmhole.
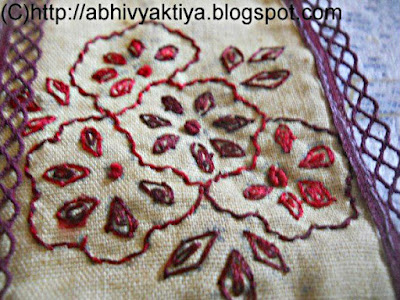
If you have to attach a patch on front side, first attach patch on front side, you
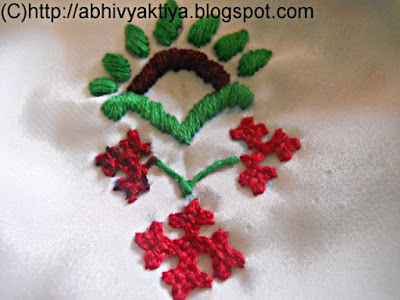
can make design of your choice, I have used cloth buttons and loops made
with dori.
Attach shoulder parts, prepare back neck with the help of bais binding.
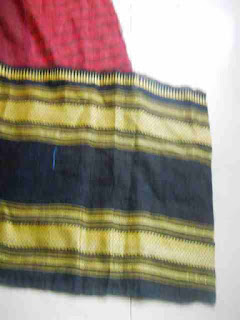
At the bottom part attach border or lace whatever you like.
Note: Anarkali's side shape is similiar to A - line, hence if you try to attach
border on top of fabric you will find it difficult because of its circular shape so
we attach border on the edge of fabric, this will increase kurta's height , at the corners add extra border to give proper shape as seen in this picture.
stitch from armhole till bottom on bothsides.
Finally attach sleeves, your 24 panels anarkali is ready.
I have prepared this 24 panels anarkali with cotton sari, for this I have to cut
upper and lower borders first and then panels.
Front patch is made with sari border and border is also used on sleeves.
I hope you will find this tutorial helpful.

